Want a photo in one specific spot on your website? You can, with any template: just add an Image section exactly where you want it.
Add an image section
- Choose where you want the photo:
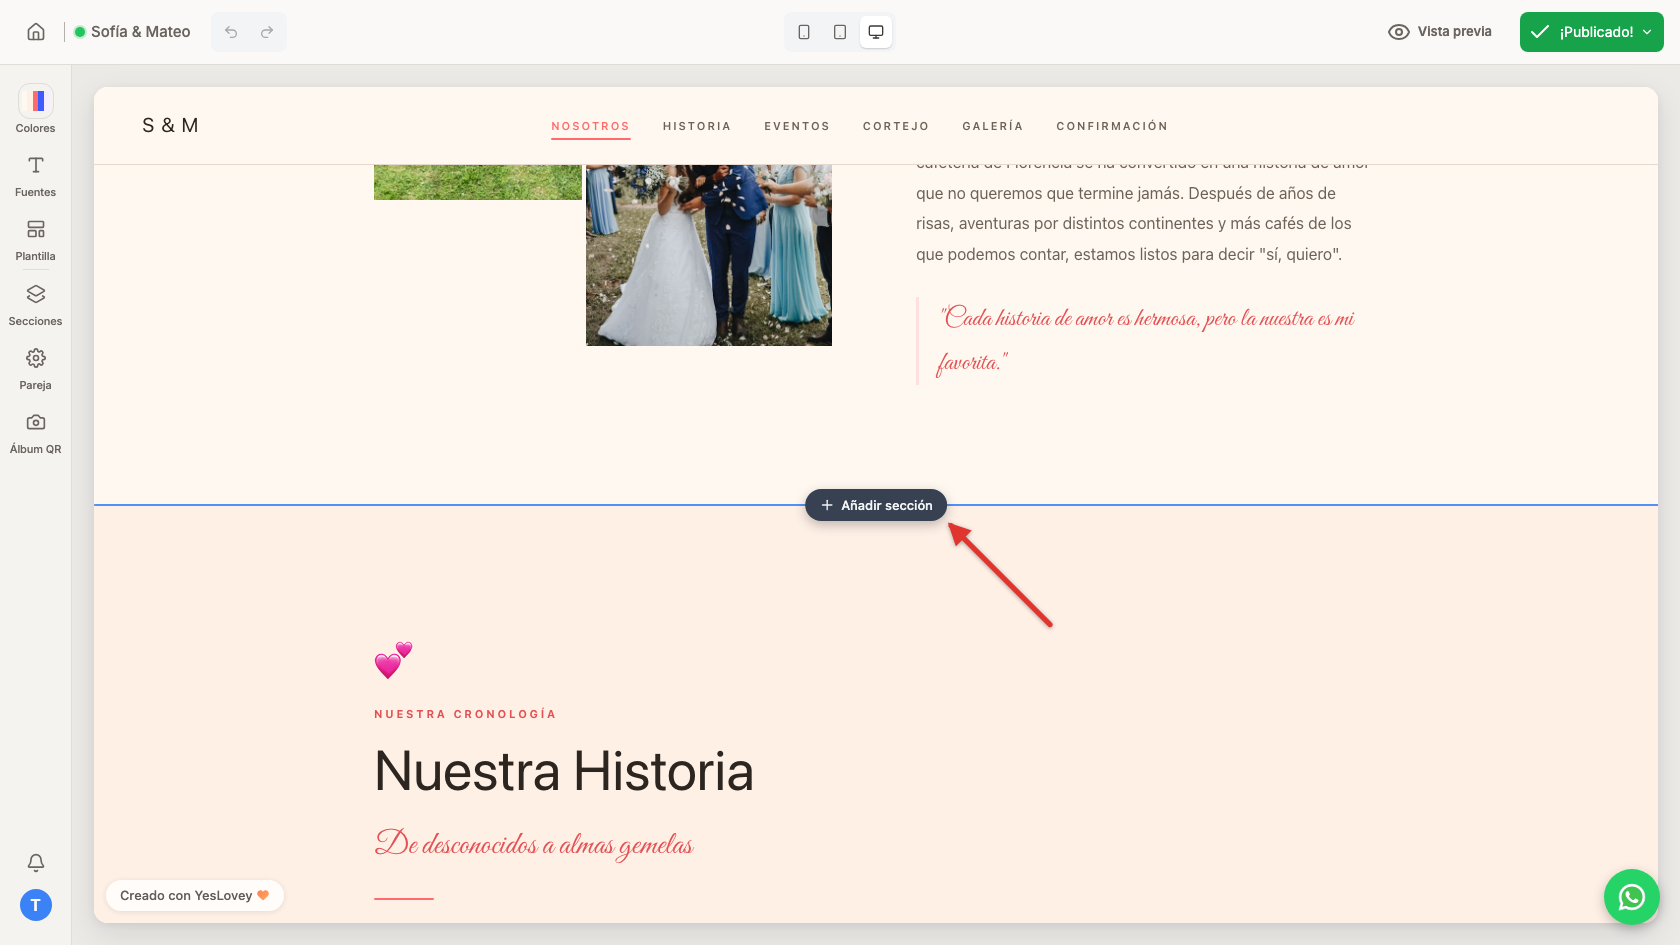
- Between two sections: hover over the line that separates them and click the Add section button that appears. The section is inserted right there.
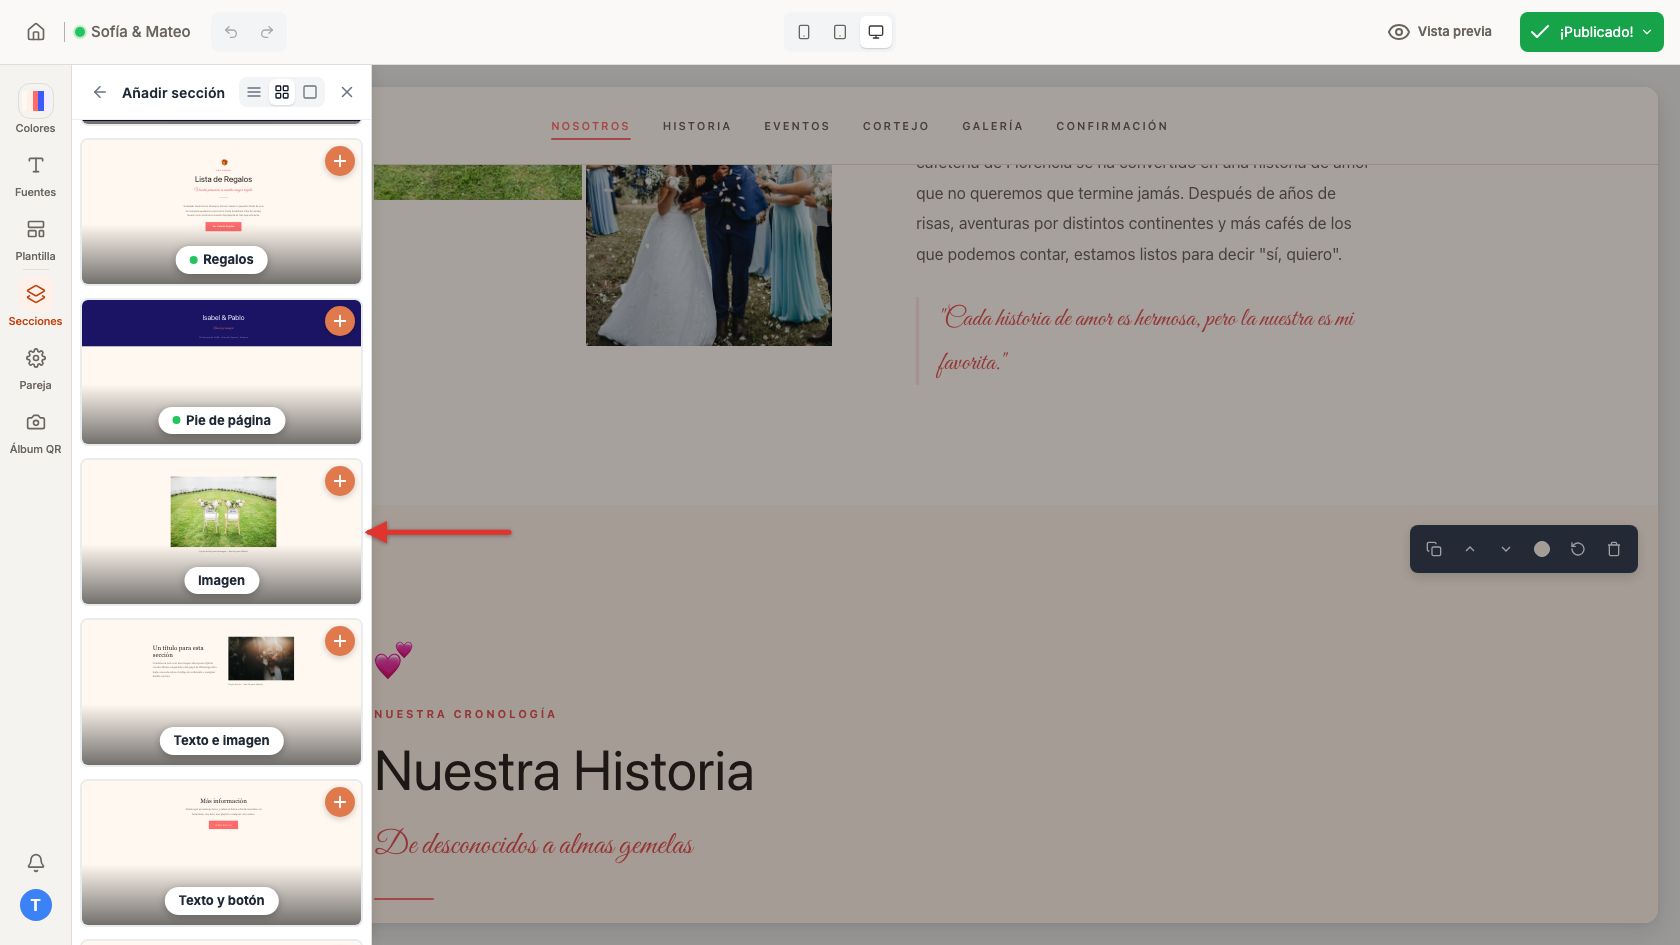
- From the panel: open Layout, click the section in the list that you want the photo to come after, and click Add section. If you don't pick one, it's added at the end of the page, below the footer.
- In the catalog, choose Image: a new section appears with a sample photo.
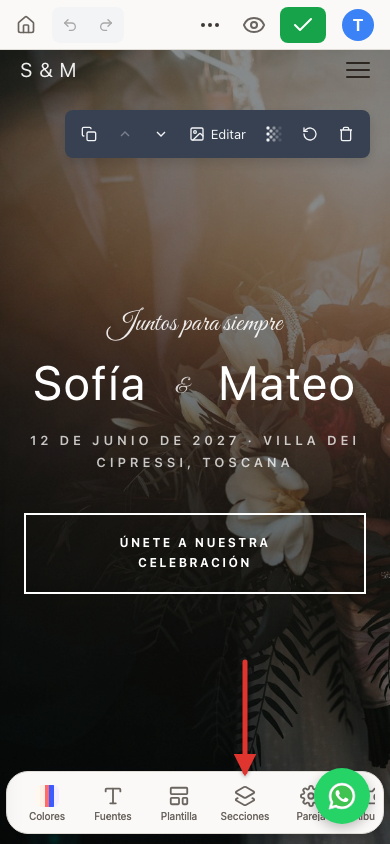
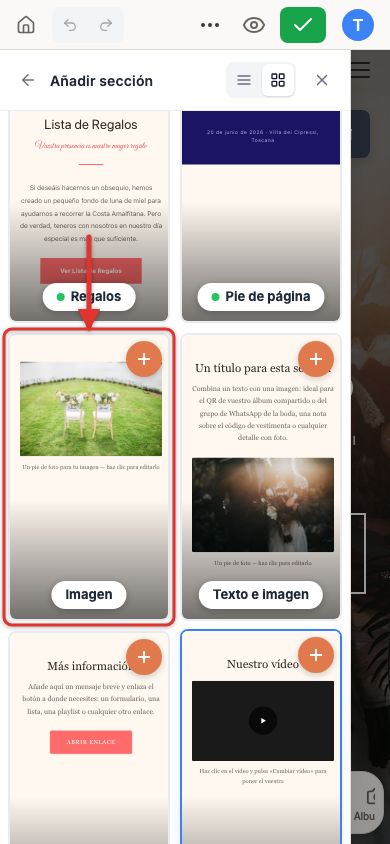
- Open Layout from the bottom bar, tap the section in the list that you want the photo to come after, and tap Add section. If you don't tap one, it's added at the end of the page, below the footer (you can move it afterwards).
- In the catalog, choose Image: a new section appears with a sample photo.
Add your photo
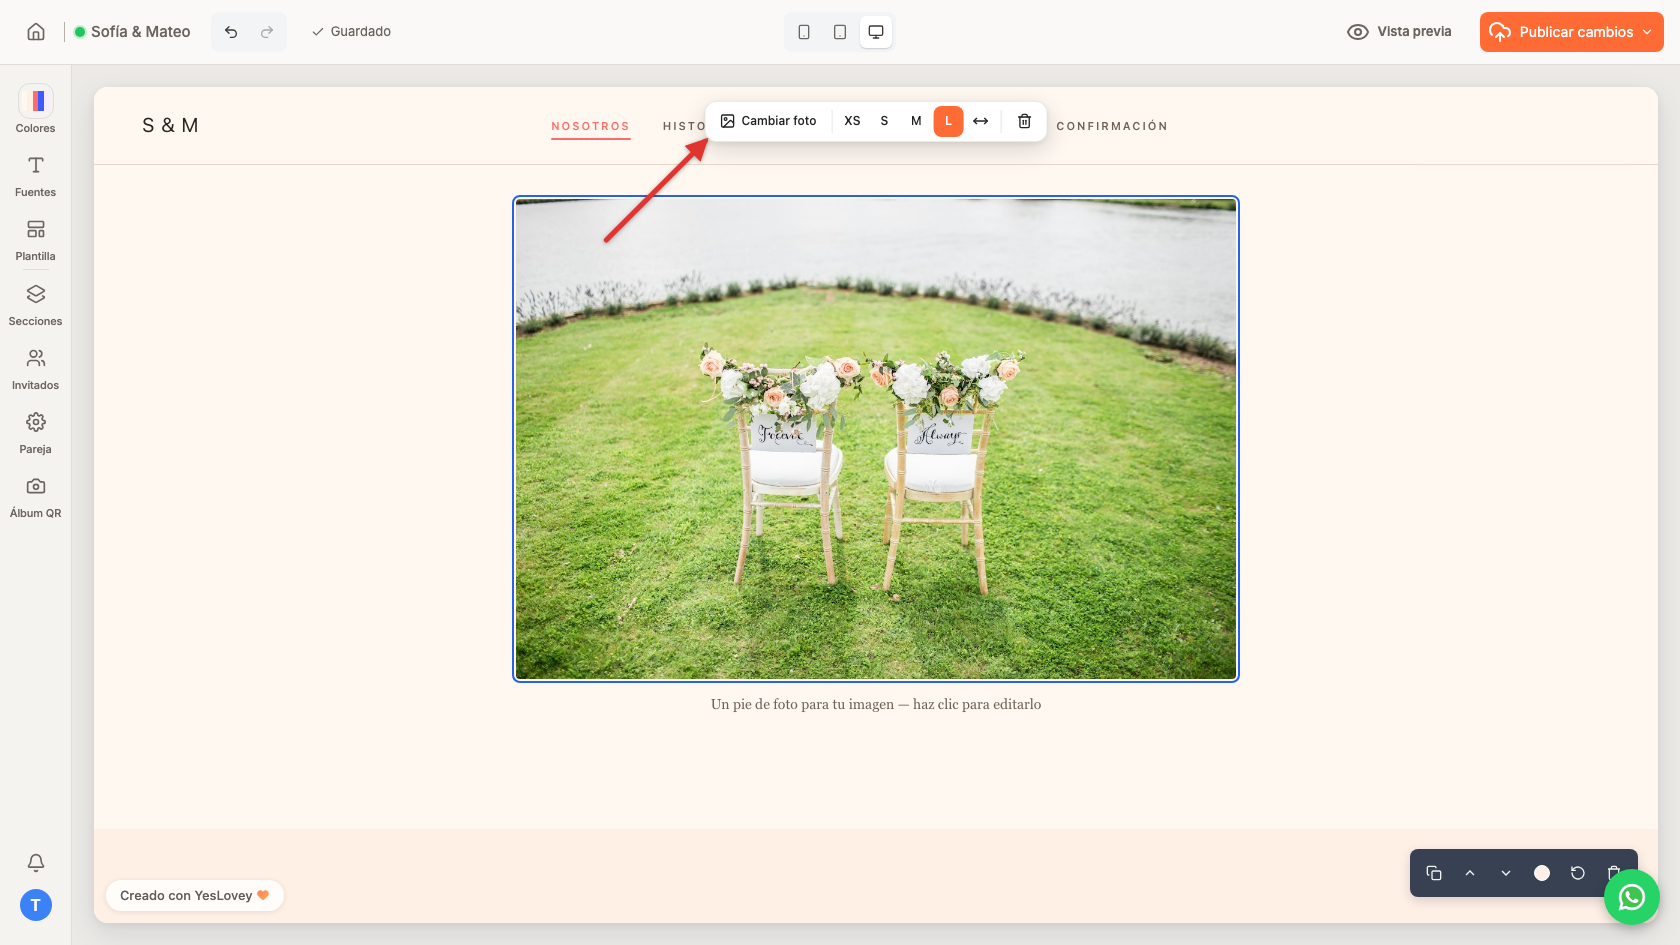
- Click the image, then click Change photo.
- Upload a photo from your device, or pick one from My images, the ones you've uploaded before.
- Pick a size in the same bar: XS, S, M, L or full width (the ↔ icon). On a phone, Change photo and the sizes (from Extra small to Full width) appear in the bottom bar.
A photo with text beside it
If you'd like to pair the photo with a few words, add the Text + image section the same way: pick it in the catalog instead of Image.
Move the image somewhere else
Open Layout and drag the image section to its new spot. On a phone, press and hold the row for a moment before dragging.
Change the photos your template already has
You don't need to add a section for this: hover over the photo (on a phone, tap it) and click the pencil icon that appears in its corner. Upload a new one or pick one you've already uploaded, then adjust the crop to fit that photo's slot.
Want to add a QR code? It's just another image: see how to add a QR code to your website.